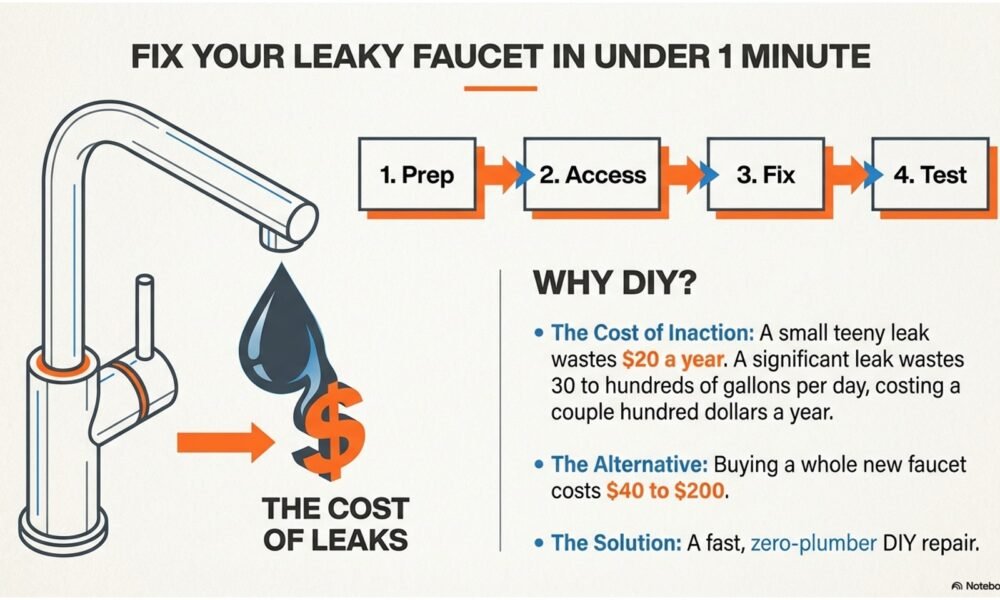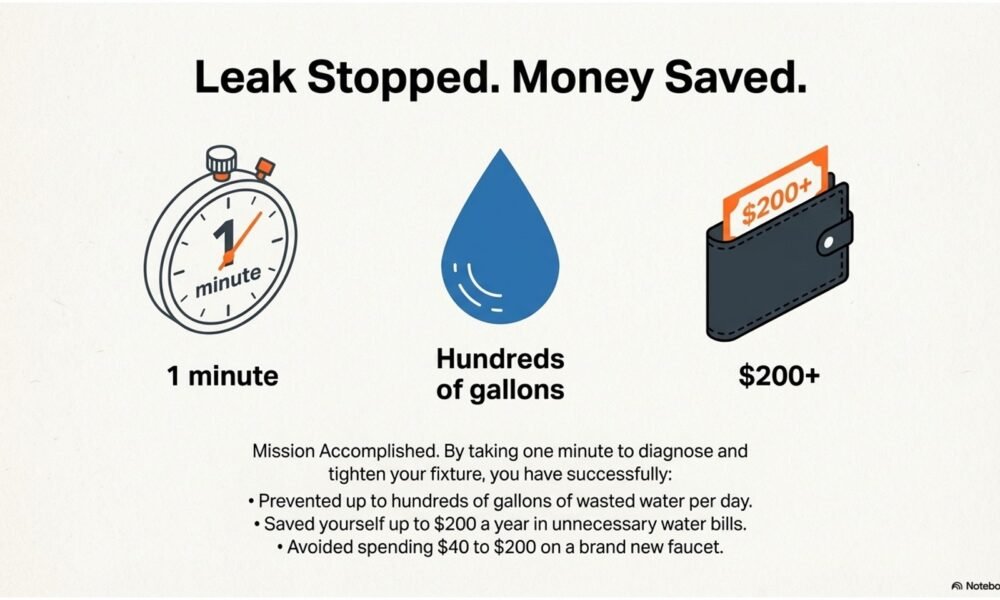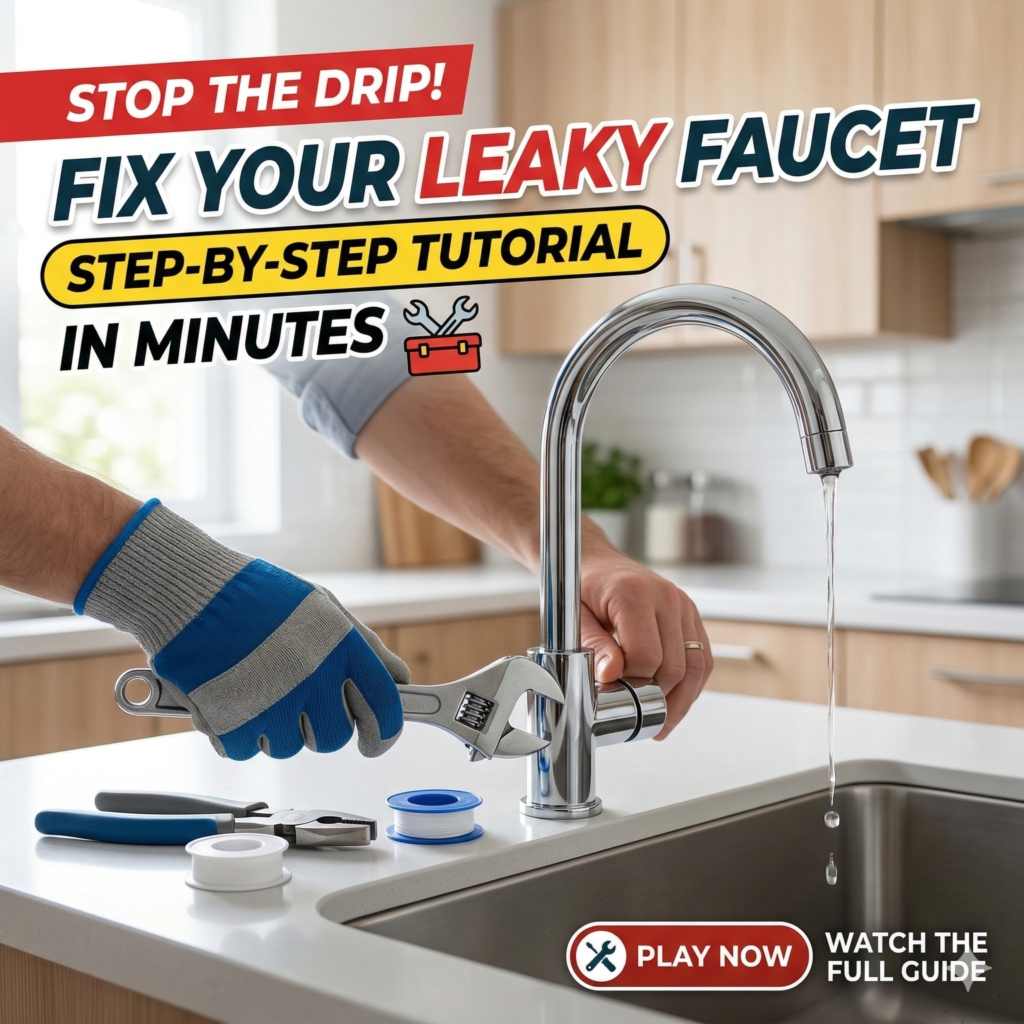
This How-To demonstrates how to fix a leaky kitchen faucet quickly and affordably. Addressing a leak is important not only to save water and money on utility bills but also to avoid the cost of replacing the entire faucet.
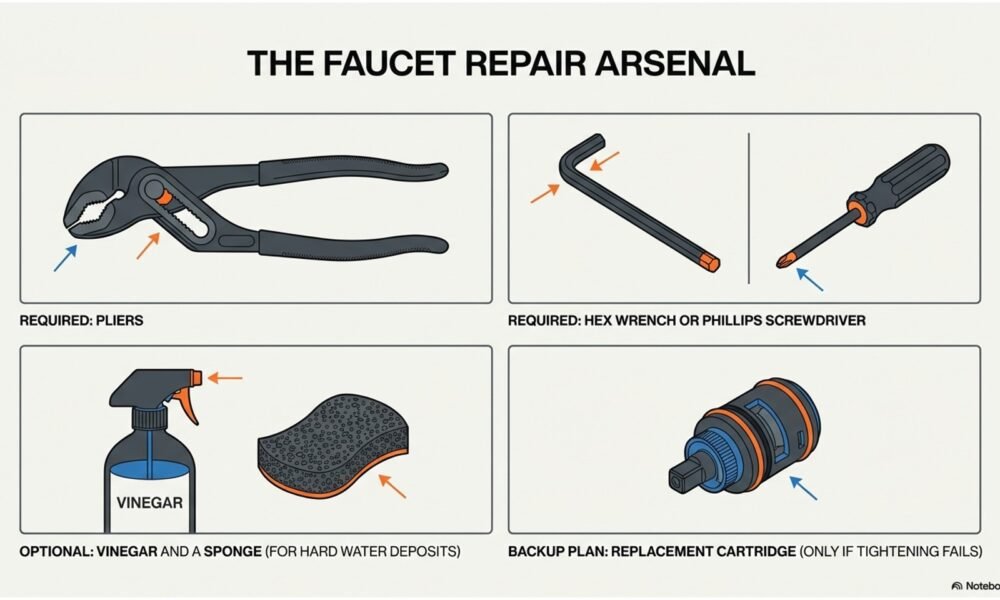
Tools Needed
- Pliers
- Hex wrench (Allen wrench) or a Phillips screwdriver (depending on your faucet handle type)
- Vinegar and a sponge (optional, for cleaning hard water deposits)
- Replacement cartridge (only if tightening the existing one doesn’t work)
Key Repair Steps
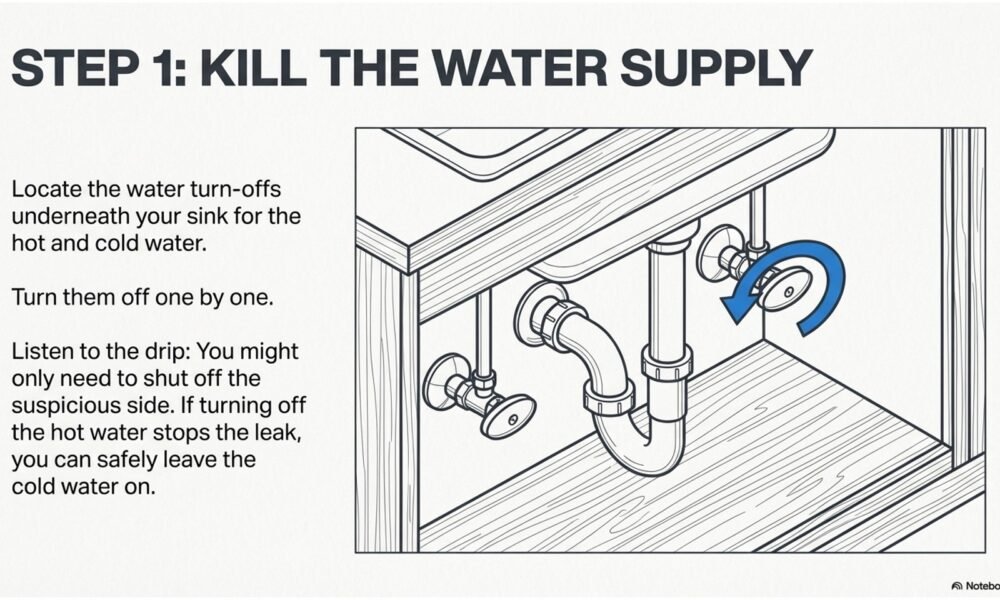
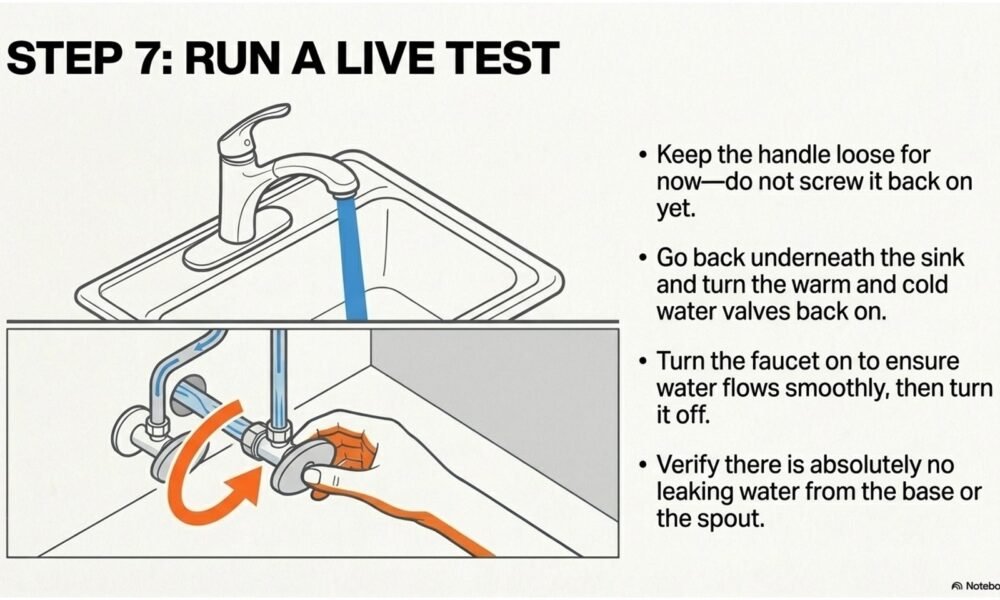
- Shut Off Water: Locate the hot and cold water shut-off valves under the sink and turn them off.
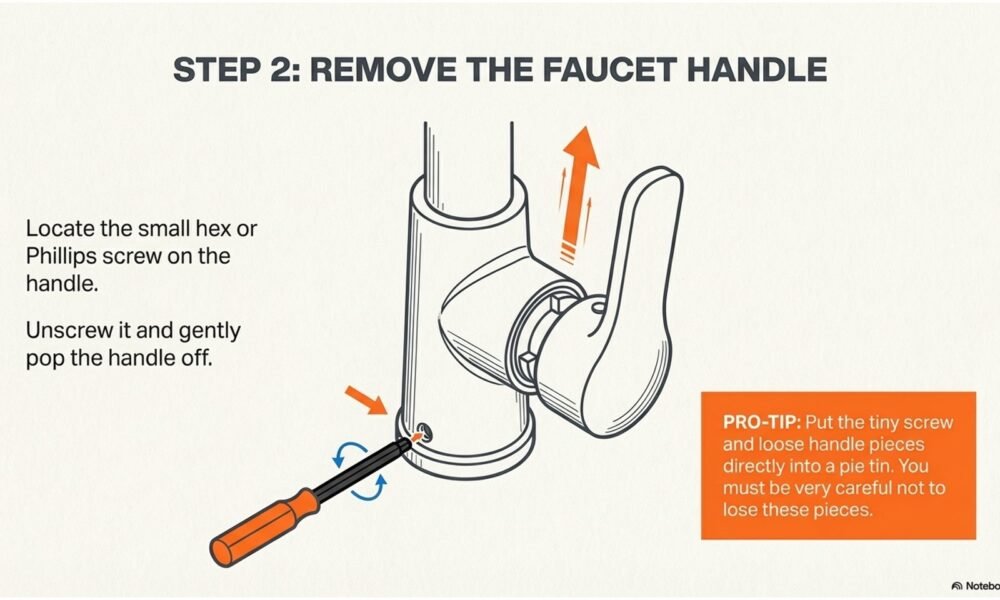
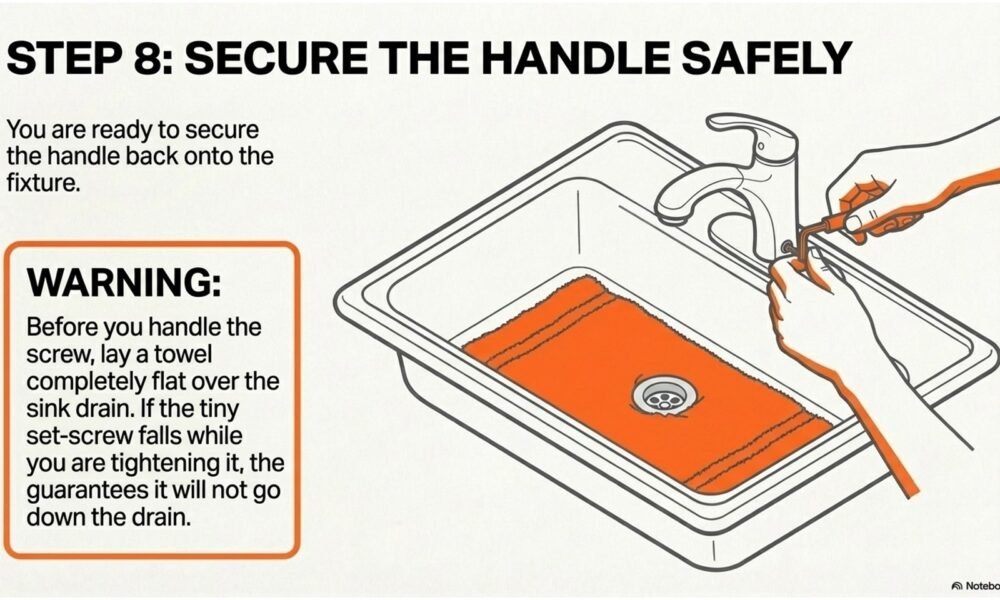
- Remove the Handle: Use a hex wrench or screwdriver to loosen the screw holding the handle in place. Be careful not to lose the small screw; placing a towel over the drain is recommended to catch it if it falls.
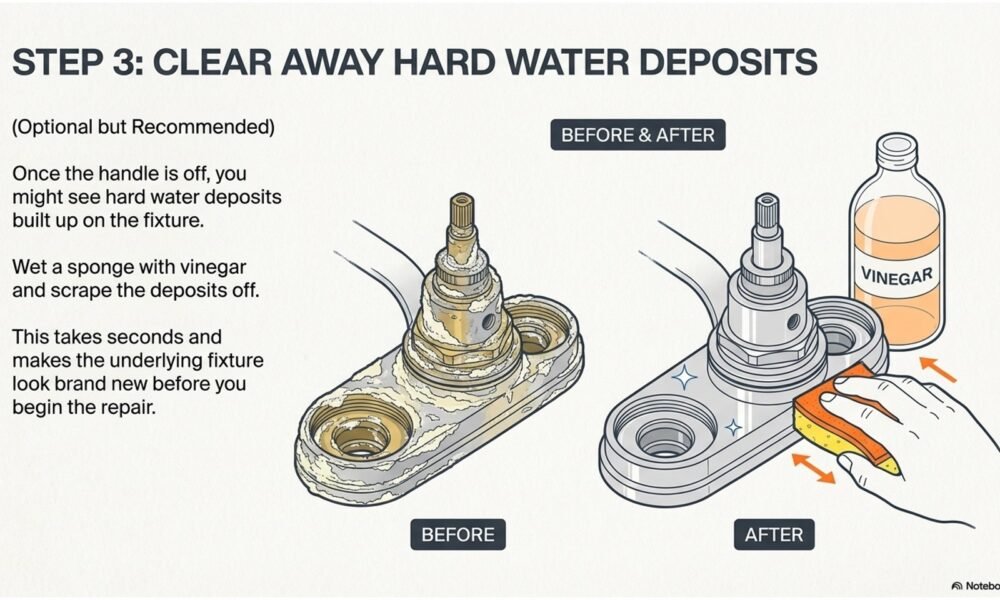
- Clean and Inspect: Once the handle is off, you may see hard water deposits. These can be cleaned using vinegar and a sponge to make the parts look new again.
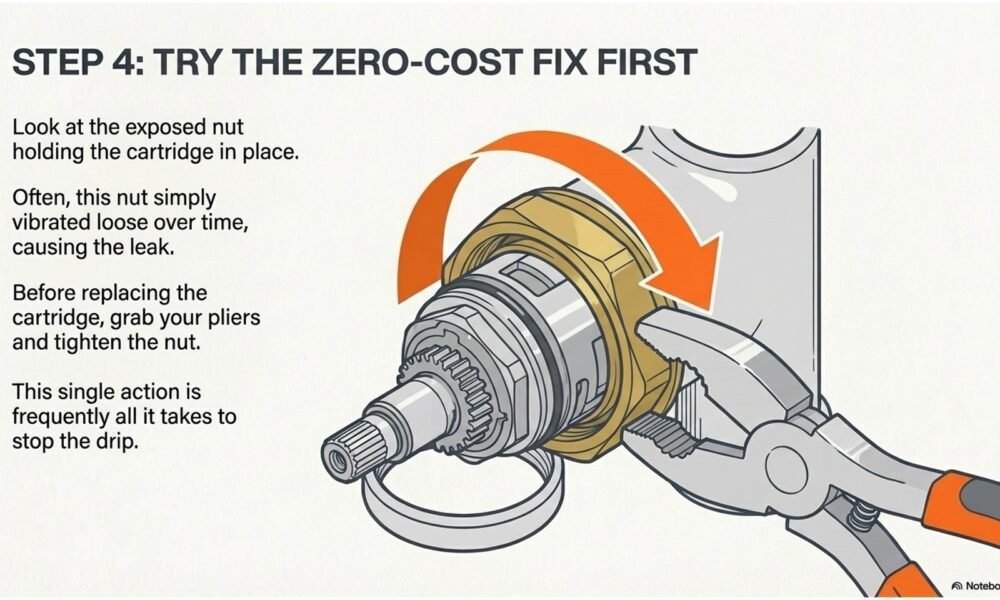
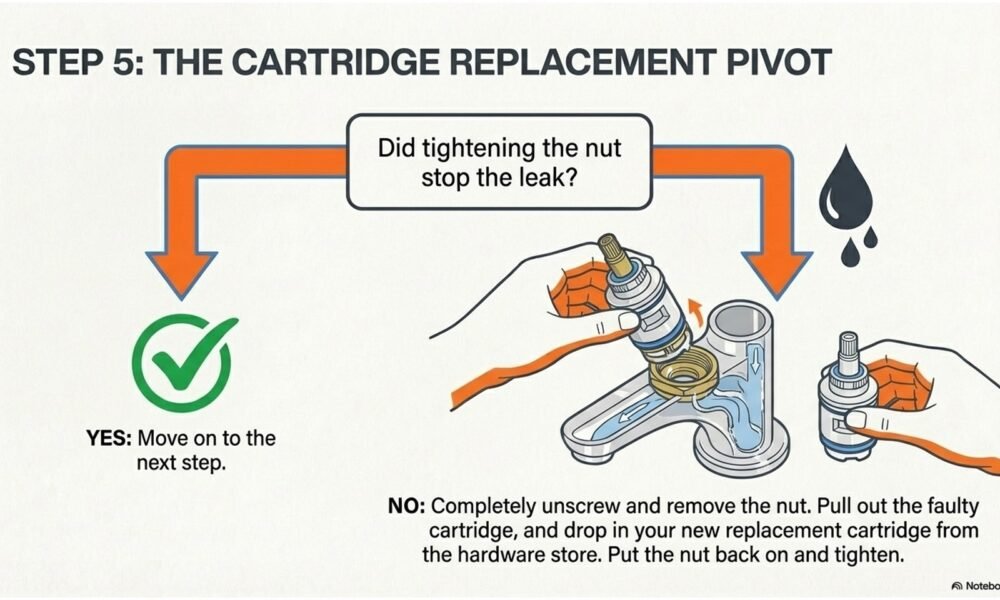
- Tighten the Packing Nut: In many cases, the leak is caused by a loose nut rather than a broken part. Try tightening the nut inside the faucet assembly first.
- Replace the Cartridge (If Needed): If tightening doesn’t stop the leak, unscrew the nut completely, remove the old cartridge, and install a matching replacement from a home improvement store.
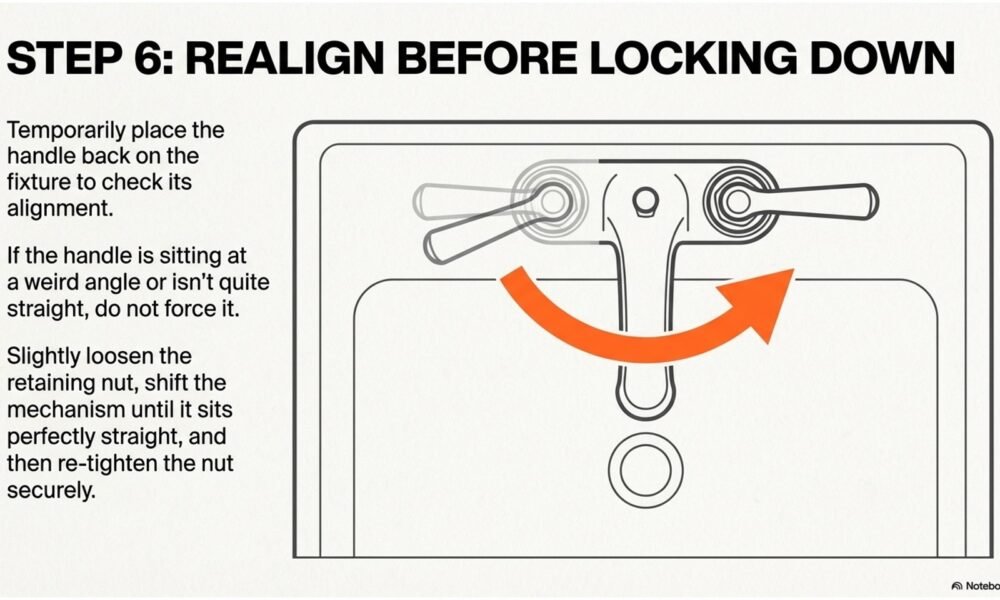
- Test the Repair: Turn the water supply back on and check for leaks before fully reassembling and securing the handle.